路由器上如何添加静态路由(VCSA添加静态路由)
小编:迷魂雪
更新时间:2022-12-03
将静态路由添加到具有多个网络接口卡 (NIC) 的 vCenter Server
- 部署新 vCenter Server 后的第一件事是添加额外的 NIC ( VMXNET3 )。以下文章中解释了这些步骤:KB2147155
- 将 NIC 添加到正确的内部端口组
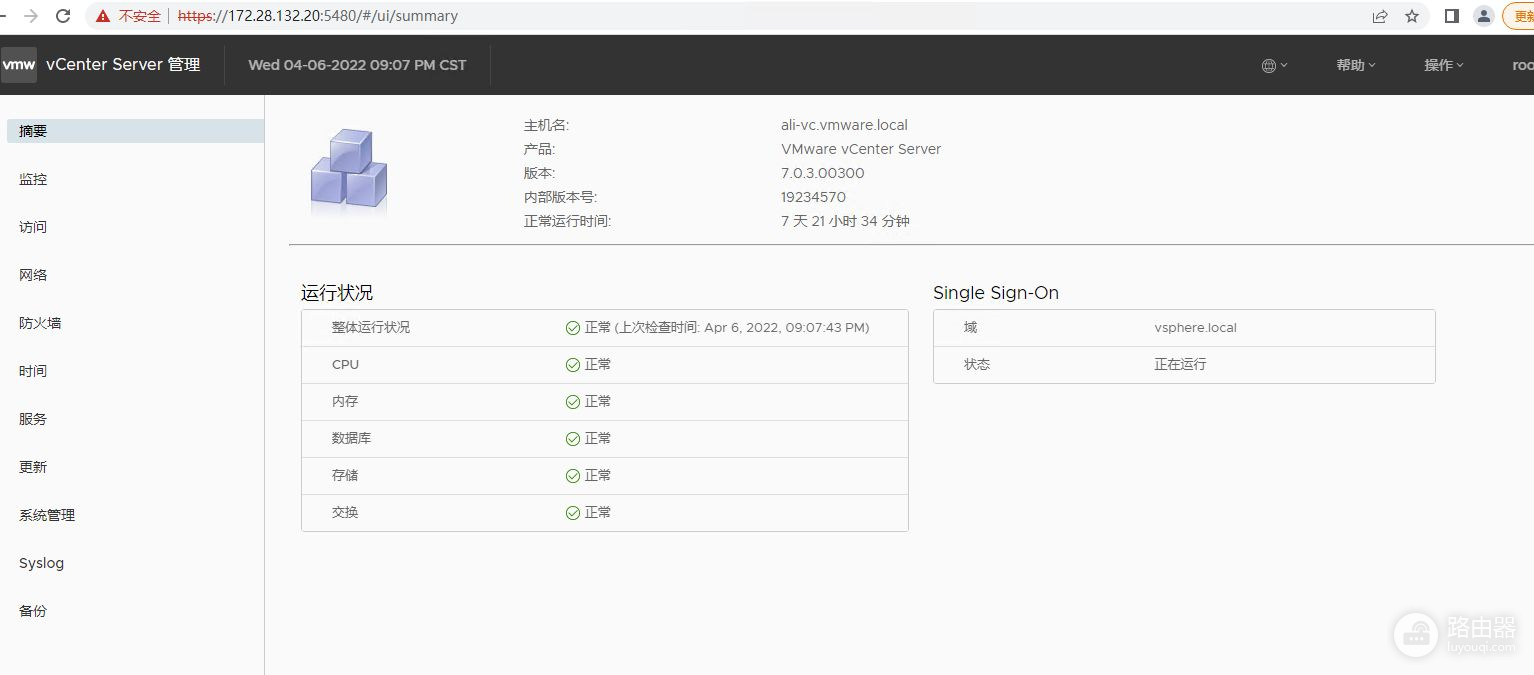
- 打开vCenter Server的VAMI接口(https://
:5480 ),添加eth1(NIC1)的IP配置。
- 在 VAMI 界面中启用 SSH(访问 - 编辑 - 启用 SSH 登录)
- 与 vCenter Server 建立 SSH 会话并使用 root 和正确密码登录
- 输入“shell”以启动 BASH shell
- 浏览到以下位置:
cd /etc/systemd/network
- 有两个文件可用(10-eth0.network和10-eth1.network)。10-eth0.network代表 eth0,如下所示:
[Match]
Name=eth0
[Network]
Gateway=10.2.145.249
Address=10.2.145.202/24
DHCP=no
[DHCP]
UseDNS=false
- 10-eth1.network文件代表 eth1,看起来像这样。
[Match]
Name=eth1
[Network]
Address=192.168.0.102/24
DHCP=no
[DHCP]
UseDNS=false
- 通过添加此文件的 [Route] 部分来添加静态路由。
[Match]
Name=eth1
[Network]
Address=192.168.0.102/24
DHCP=no
[DHCP]
UseDNS=false
[Route]
Gateway=192.168.0.1
Destination=10.21.9.0/24
- 重启网络服务
systemctl restart systemd-networkd.service
- 使用route -n命令检查是否添加了路由:
root@vcdr01 [ /etc/systemd/network ]# route -n
Kernel IP routing table
Destination Gateway Genmask Flags Metric Ref Use Iface
0.0.0.0 10.2.145.249 0.0.0.0 UG 0 0 0 eth0
10.2.145.0 0.0.0.0 255.255.255.0 U 0 0 0 eth0
10.21.9.0 192.168.0.1 255.255.255.0 UG 0 0 0 eth1
192.168.0.0 0.0.0.0 255.255.255.0 U 0 0 0 eth1


